How to Connect DMX Lights?
2023-02-18
DMX Lighting Connection
Connecting DMX lights involves a series of steps to ensure that the lighting system is set up correctly and safely. Here's a general guide on how to connect DMX lights:
- Understanding DMX:
- DMX (Digital Multiplex) is a standard for digital communication networks that are commonly used to control stage lighting and effects. It allows for the control of multiple lighting fixtures with a single controller.
- Equipment Needed:
- DMX cables (typically 3-pin or 5-pin XLR cables), but different manufactures have their own cable connectors on their lighting fixtures
- DMX lighting fixtures
- DMX controller or console (software)
- Power sources for the lights
- DMX Splitter (optional, but recommended for larger setups)

- Steps to Connect DMX Lights:
1. Plan Your Setup:
- Decide the layout of your DMX fixtures and the path the DMX cable will take.
- Determine the DMX addresses for each fixture. Each fixture needs a unique address so the controller can communicate with it individually.
2. Set DMX Addresses:
- Use the instructions provided with each light fixture to set the DMX address.
- Make sure each fixture has a unique address that corresponds to its position in the DMX universe.
3. Power Off:
- Before connecting any cables, ensure all lighting fixtures and the controller are powered off to prevent electrical damage.
4. Connect the Controller:
- Connect the DMX output of your controller to the first light fixture using a DMX cable. Ensure the cable has the correct XLR connectors (male or female) to match the controller's output.
- If you're using a dimmer pack, connect the controller to the dimmer pack first, and then the dimmer pack to the lights.
5. Chain the Lights:
- From the first light fixture, connect the DMX output to the DMX input of the next fixture using another DMX cable.
- Continue this process, creating a “daisy chain” of lights, until all fixtures are connected.
6. Use a DMX Splitter (Optional):
- If you're running a large number of fixtures or long distances, consider using a DMX splitter. This device takes a single DMX input and splits it into multiple outputs, ensuring signal integrity.
7. Power on and Test:
- Power on the controller first, followed by the lighting fixtures.
- Test each fixture to ensure it’s responding to the controller and that there are no addressing conflicts.
8. Programming:
- Use your DMX controller to program scenes, cues, and effects. Each channel on the controller corresponds to a function on the fixture (e.g., pan, tilt, intensity, color).
Example

- Tips:
- Label your DMX cables and fixtures with their respective addresses for easy troubleshooting.
- Always use high-quality DMX cables to minimize signal degradation over distance.
- Make sure the fixtures are compatible with the DMX protocol version your controller uses (DMX512, DMX512-A, etc.).
- Regularly inspect your DMX connections to ensure they are secure and undamaged.
- Safety:
- Always follow the manufacturer's instructions for both the controller and the lighting fixtures.
- Be cautious when working with electrical equipment and ensure all power is disconnected during installation.
- Connecting DMX lights can be straightforward, but it's important to take your time and ensure everything is set up correctly to avoid complications during operation.
What is RGB Lighting?
What does DMX Stand for?
Related Article
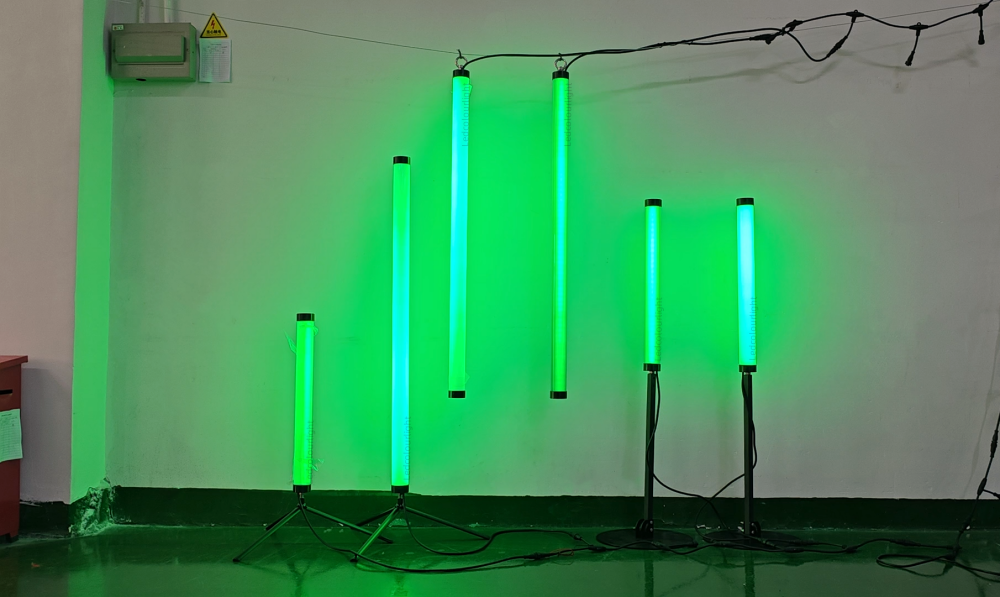
This article explores a versatile 3D LED light tube developed for multi-project use, offering adaptable installation methods and consistent performance for professional lighting environments.
Pixel-controlled 3D LED Light Tube for Professional Lighting Projects